
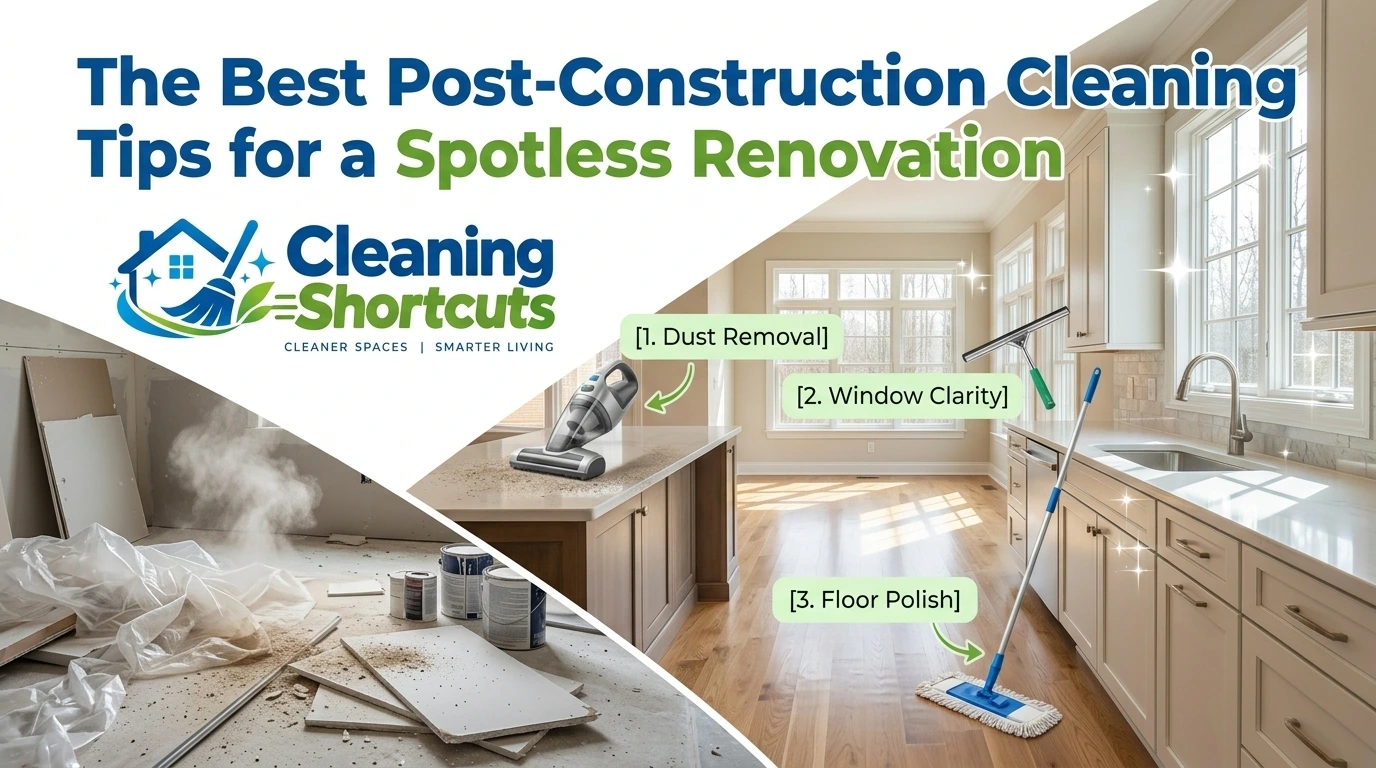
So the renovation is finally done. The new kitchen looks wonderful. The bathroom tile came out exactly how you pictured it. Then you run your finger across the countertop and it comes back grey. There’s dust in places you didn’t even know existed. Welcome to the not-so-glamorous side of remodelling.
I’ve been through this dance more times than I’d like to admit. After my sister’s basement remodel last spring, I spent an entire weekend trying to get construction dust out of a couch. Lesson learned the hard way. Post-construction cleaning is different. If you don’t know what you’re doing, you’ll end up cleaning the same surfaces over and over again.
This guide is everything I wish someone had told me before about post-construction cleaning. I wasted a whole Saturday scrubbing walls that just got dusty again the next morning.
Why Post-Construction Cleaning Isn’t Just a Bigger Version of Your Regular Cleaning
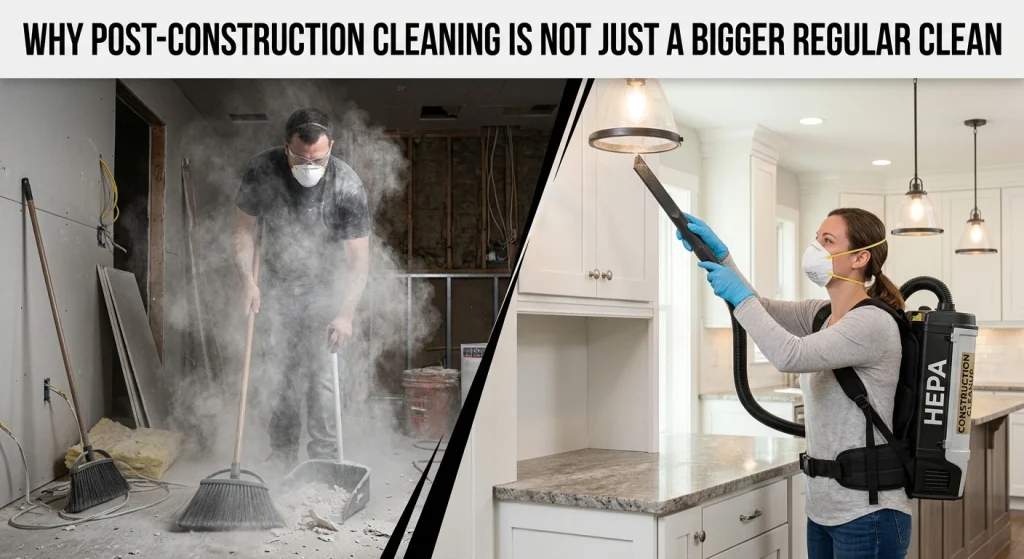
Here’s the thing nobody tells you about post-construction cleaning that construction dust is not the same as the dust that collects on your bookshelf over a month. That stuff is mostly dead skin cells and lint. Construction dust is silica, drywall particles, wood shavings and whatever else got kicked up during demo day.
That fine white powder? It’s basically ground-up rock. And if you breathe enough of it, it can mess with your lungs. Not trying to scare you, but it’s worth knowing.
The other problem is that this dust goes everywhere. I mean everywhere. Inside cabinets. Into light fixtures. Coating the coils on your fridge. A regular feather duster flings it around the room like a tiny dust tornado. You need a plan, not just elbow grease.
Grab These Before You Start (Or You’ll Regret It)
Nothing is worse than getting halfway through and realising you don’t have the right tool. I’ve done that. It ended with me using a wet paper towel to clean drywall dust that had pasted to the wall. Learn from my mistakes.
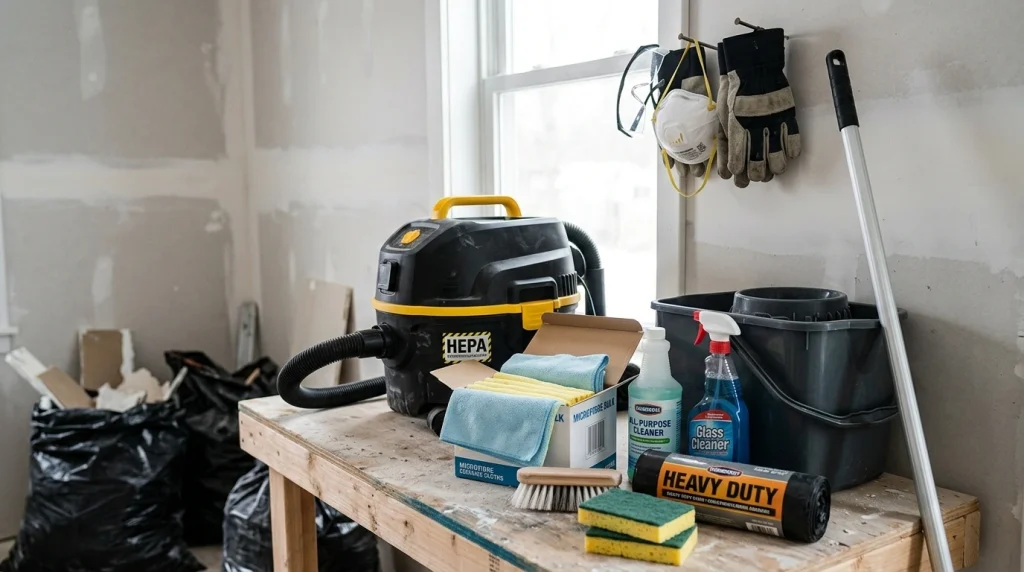
Here’s your kit:
· A vacuum with a HEPA filter. This is non-negotiable. Regular vacuums spit that fine dust right back into the air. HEPA traps the tiny stuff that your lungs would otherwise catch.
· A pile of microfibre cloths. Not the fancy ones. The cheap multipack is fine. You’ll go through a lot because once they’re saturated with dust, they’re done.
· All-purpose cleaner and glass cleaner. Nothing too harsh. You don’t want to strip the finish off new cabinets.
· Heavy-duty trash bags. Construction debris has sharp edges. A flimsy kitchen bag will rip before you make it under the curb.
· A good scrub brush and sponges. Paint splatters and grout haze won’t come off with a gentle wipe.
· Mop and bucket. After vacuuming, use a mop and bucket for hard floors.
· Gloves, a mask, and eye protection. The dust is fine and irritating. Your lungs will thank you.
Wear clothes you do not love. You’ll be dusty from head to toe by the end.
The Order That Actually Works (Don’t Skip Around)
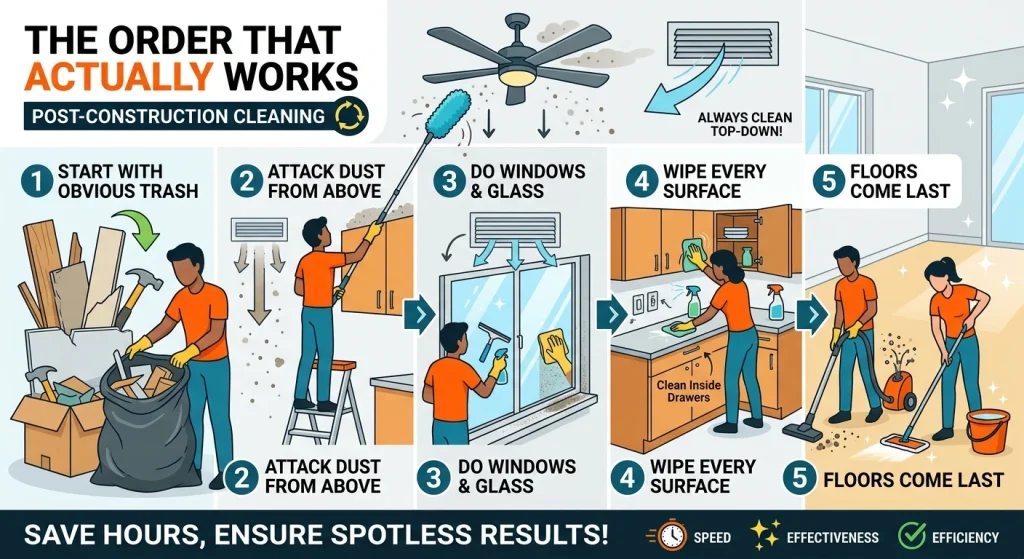
If there’s one tip that will save you hours, it’s this. Always clean from the top down. Ceiling first. Then walls. Then surfaces. Floors are dead last.
I know you will start with the floor because that’s the most satisfying part. Don’t; you’ll watch a fresh layer of dust drift down from the ceiling fan and ruin your work.
Start With the Obvious Trash
Walk through the whole space with a trash bag and grab anything big. Wood scraps. Nails. Plastic wrap. Half-empty caulk tubes. Coffee cups the crew forgot. Get it out of the way. Before you even touch a cloth.
Attack the Dust from Above
Ceilings. Ceiling fans. The tops of cabinets and door frames. Light fixtures. Air vents. This part is honestly boring, but it matters.
One thing I learned the hard way: dirty HVAC vents will keep blowing dust into the room every single time the air kicks on. Wipe them down or vacuum them out. Otherwise, you are fighting a losing battle.
Do the Windows and Glass
Freshly installed windows can quickly lose their spotless look, especially when fingerprints, dust, and paint marks start showing up. Use glass cleaner and a microfibre cloth. Do not touch a cloth. Forget the tracks. Those little channels are like dust magnets.
Attack the Dust from Above
Ceilings, ceiling fans, the tops of cabinets and door frames, light fixtures, and air vents all require attention. This part may seem tedious, but it is essential.
One lesson I learned the hard way: dirty HVAC vents will continue to blow dust into the room every time the air kicks on. Be sure to wipe them down or vacuum them out. Otherwise, you will be fighting a losing battle.
Do the Windows and Glass
Freshly installed windows can quickly lose their pristine appearance, especially when fingerprints, dust, and paint marks begin to appear. Use glass cleaner and a microfibre cloth. Don’t forget the tracks; those little channels are like magnets for dust.
Wipe Down Every Surface
Countertops, sinks, cabinets (both sides), drawers, shelves, light switches, door handles, and outlet covers should all be wiped. Open everything and clean the insides. Dust can accumulate in drawers and other often-overlooked spaces, leaving them dirtier than they seem.
Floors Come Last, Always
For hard floors, start by vacuuming. Then mop. If the floor is heavily soiled, a second mopping can leave it looking much cleaner. For carpets, run the vacuum several times. If possible, consider getting a professional carpet clean.
Wipe Down Every Surface
Countertops, sinks, cabinets (both sides), drawers, shelves, light switches, door handles and outlet covers. Open everything and wipe the inside. Dust can easily collect inside drawers and other overlooked spaces, making them dirtier than they appear.
Floors Come Last, Always
For hard floors, vacuum first. Then mop. If the floor is heavily soiled, a second mop can help leave it looking much cleaner. For carpet, run the vacuum several times. If you can swing. You get a professional carpet clean. Construction dust burrows deep into the fibres, and a standard vacuum won’t pull it all out.
Then do one final walkthrough. Look for anything you missed. Wipe the door frames again. Swap your HVAC filter because it’s probably clogged with drywall dust. Crack a window and let the place breathe.
When It’s Time to Hire Someone
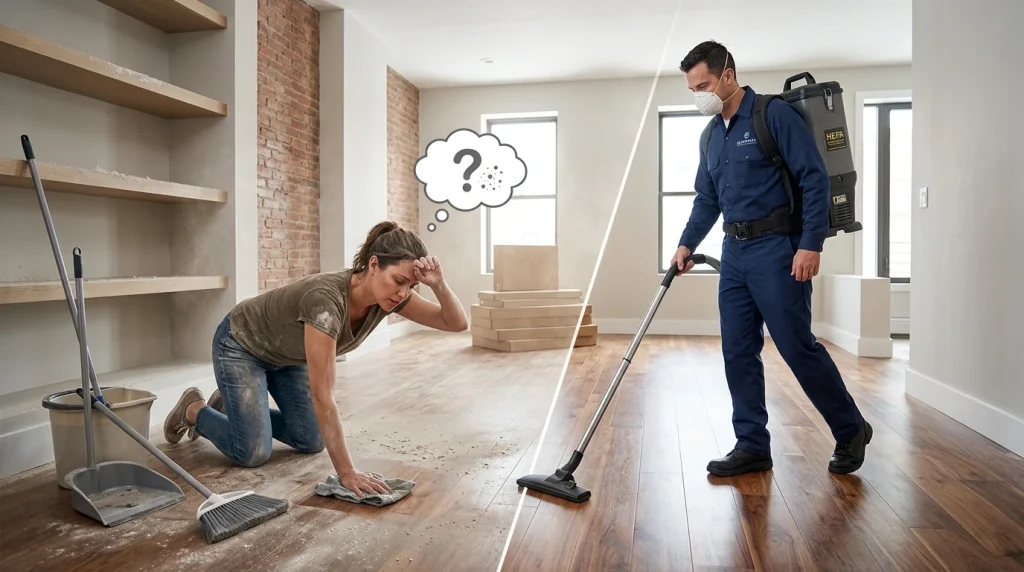
When the floor is really dirty, you may need to mop it twice to get it properly clean.
If you renovated an entire house, or if the space is commercial, the dust load is massive. Professionals have commercial HEPA vacuums and know which cleaners won’t wreck your new finishes. If you have allergies or asthma, then fine dust control is especially important because it can make the air uncomfortable to breathe.
Contractors often hire a cleaning crew before the client walkthrough for a reason. It’s the difference between “looks pretty good” and “wow, it’s perfect”.
The Bottom Line
A thorough post-construction cleaning can make all the difference between a home that feels truly finished and one that still feels like a work site. It’s a lot of work, but it’s the kind of work that makes the whole project worth it.
In post-construction cleaning use the right tools. Work top to bottom. Be patient with the dust. And don’t be too proud to call in backup if you need it.
Your freshly renovated space is worth the effort. Trust me, once it’s actually clean, you’ll forget all about the weekend you spent chasing dust around with a microfibre cloth.
To get more tips and cleaning hacks visit cleaning shortcuts.